At the end of the game, there were 6 dead mercs, 2 badly wounded, and one lightly wounded; for 113 dead, wounded or dying Simba rebels, and the mercs still lost! (A single truck with the wounded in, and the .50 cal jeep with its gun knocked out, were being escorted towards the table end by 2 depleted sections of infantry when play finished at the end of turn 8). Although we (Steve & I - mercs) managed to wipe out more Simba units than last time, we still didn't get enough to make up for our lost vehicles in terms of points...
Scenery is all down to Johnny (with artistic assisstance from Tracey), and the 2 gun jeeps & matching section are also his work (as are a unit of simbas) - we've quite a different style of brush work (John's being the nicer!) so you should be able to spot them. All the other figures and vehicles are my work.
Anyway - here are the pictures! I've got some of the positions of various units at the start and end of the game, as well as most significant changes during each turn. I'll leave out the majority of the narrative as I'm once again pressed for time, but hopefully with what I've written above it should be reasonably clear (If I get chance, I'll try to add a few extra clarifying comments)

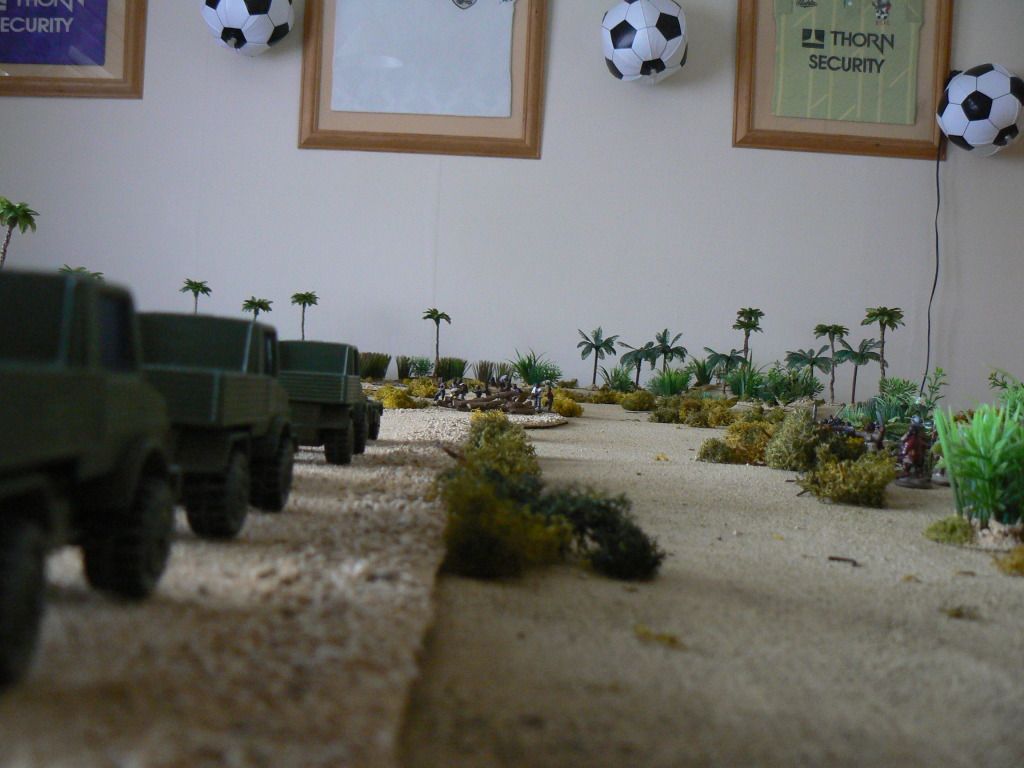


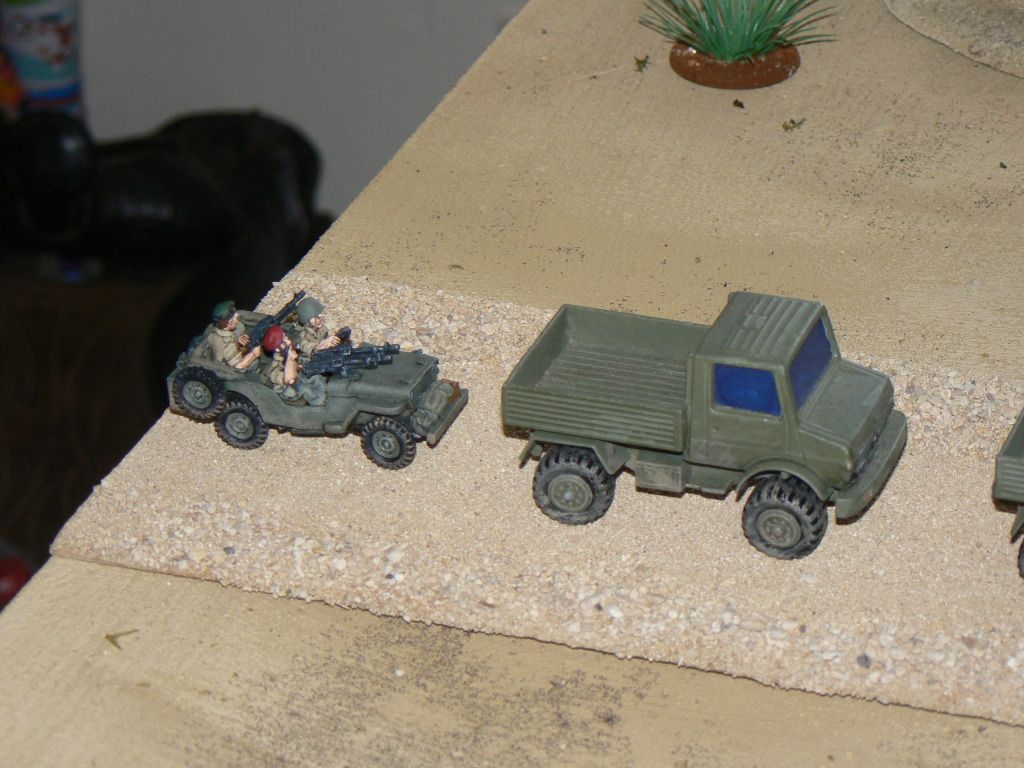
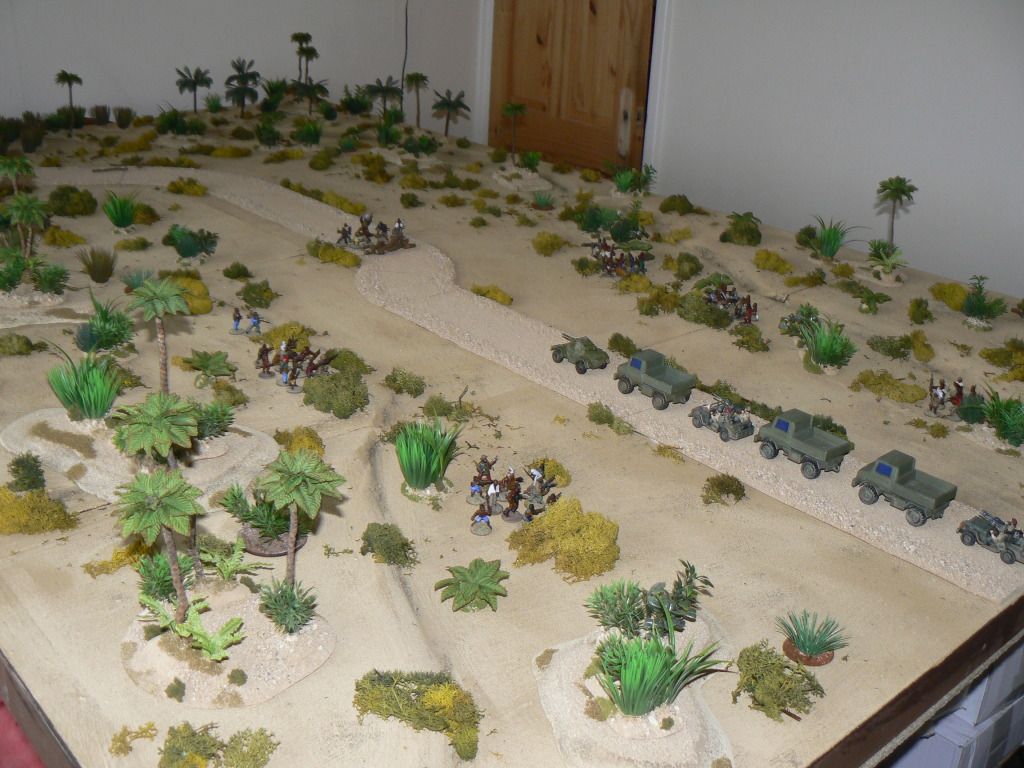
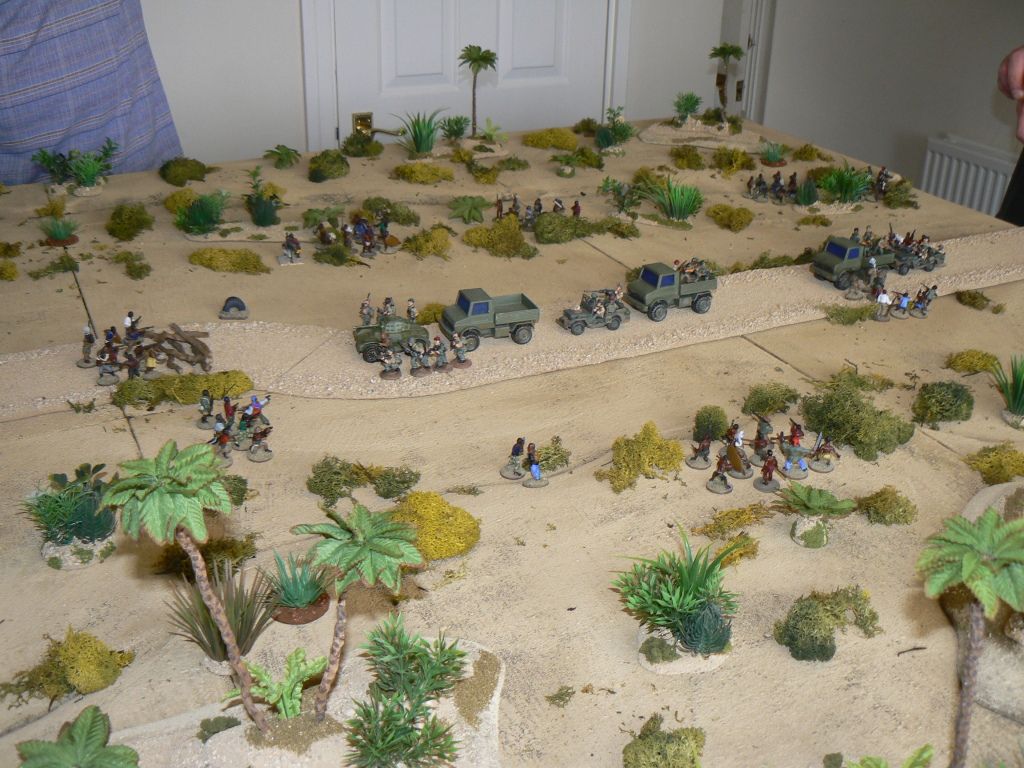
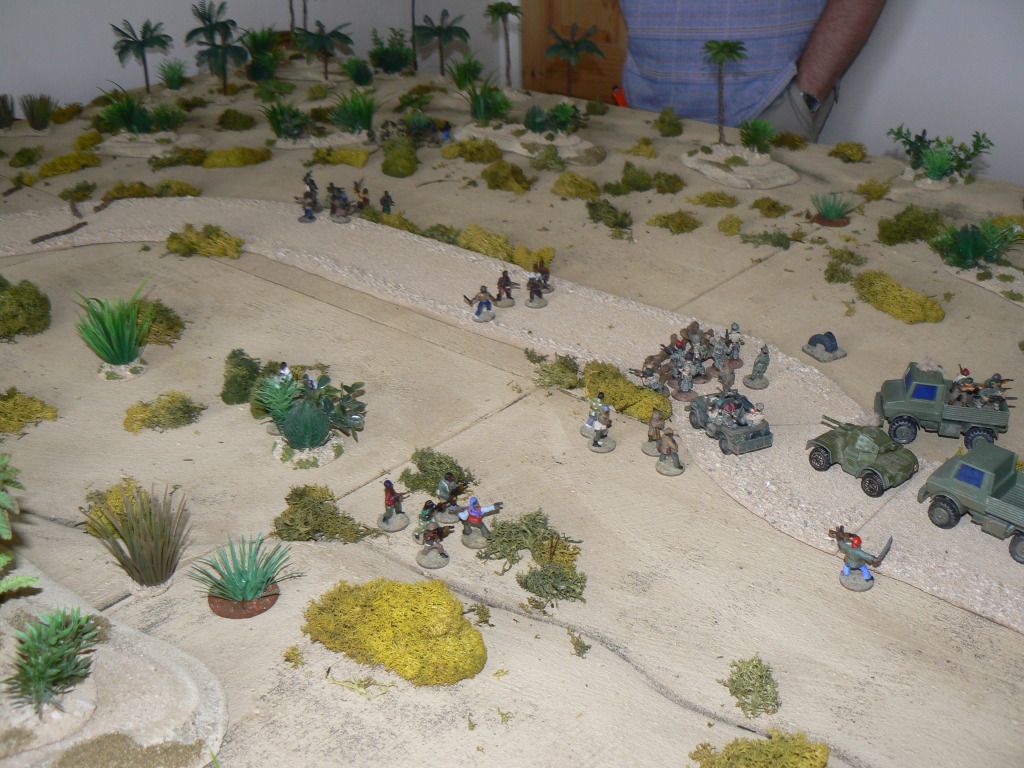
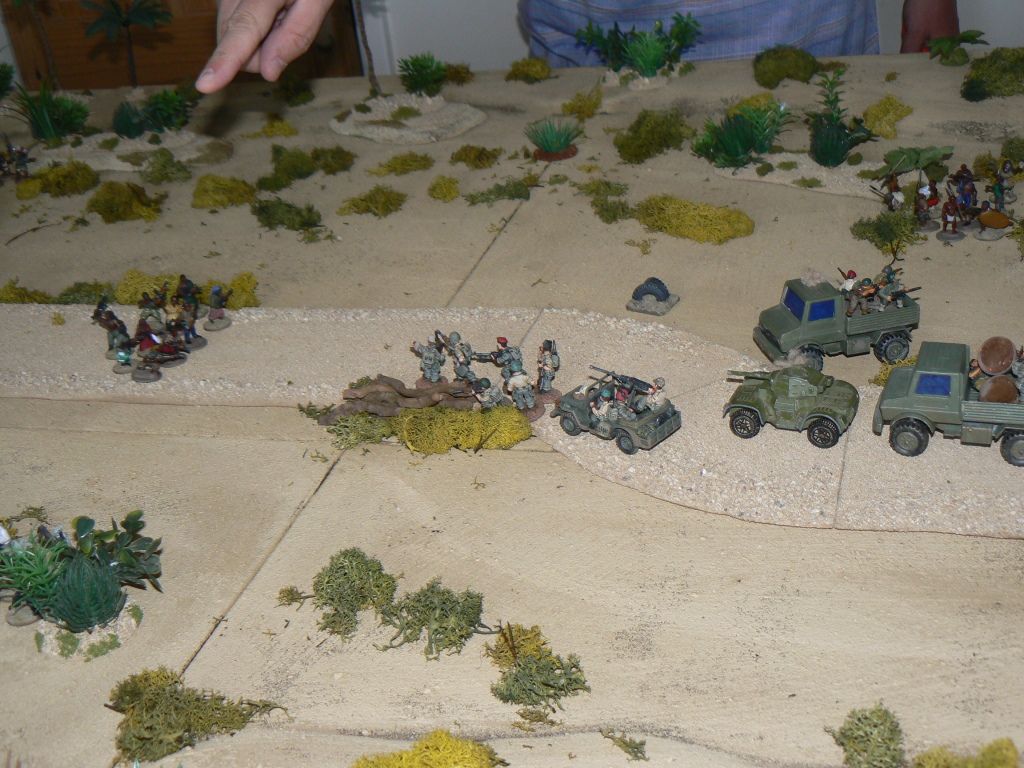
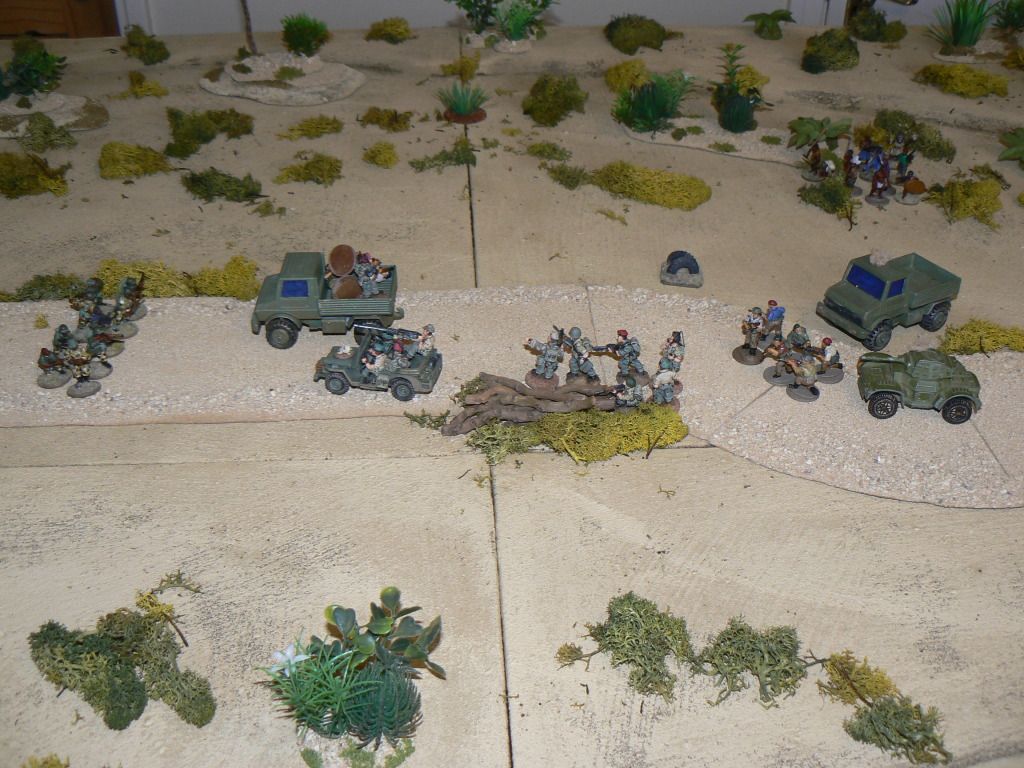
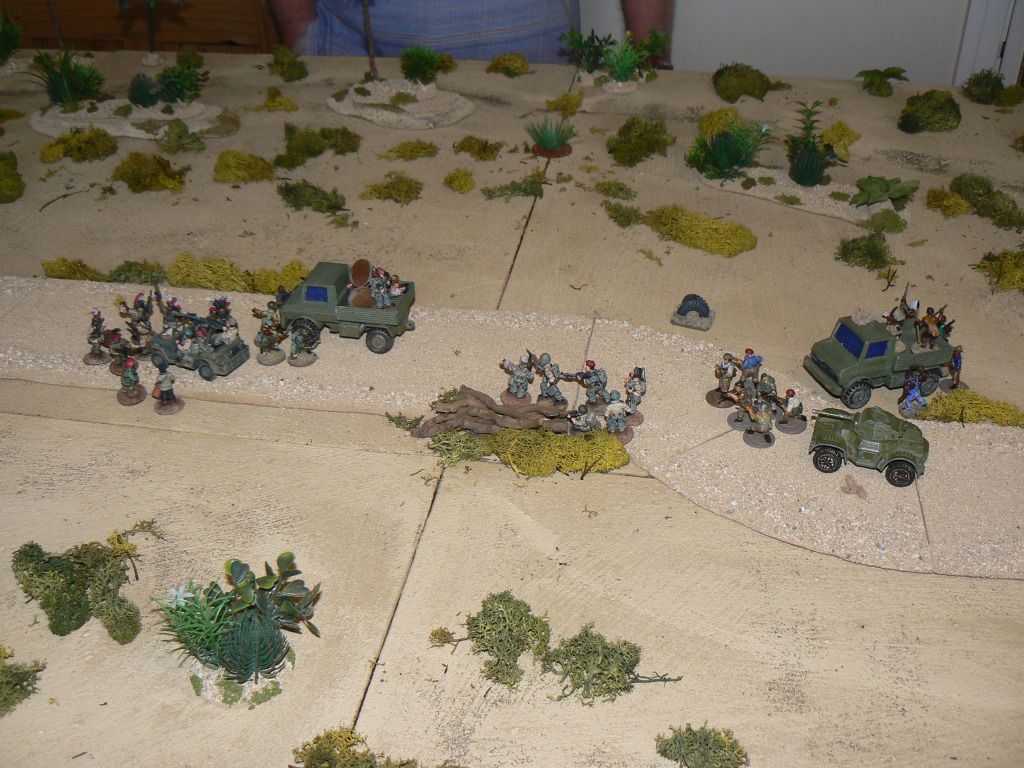
So that's how the table looked after set-up. The Unimogs were assumed to have covered backs, so the figures weren't deployed in the rear (yet) to discourage their use as gun-trucks
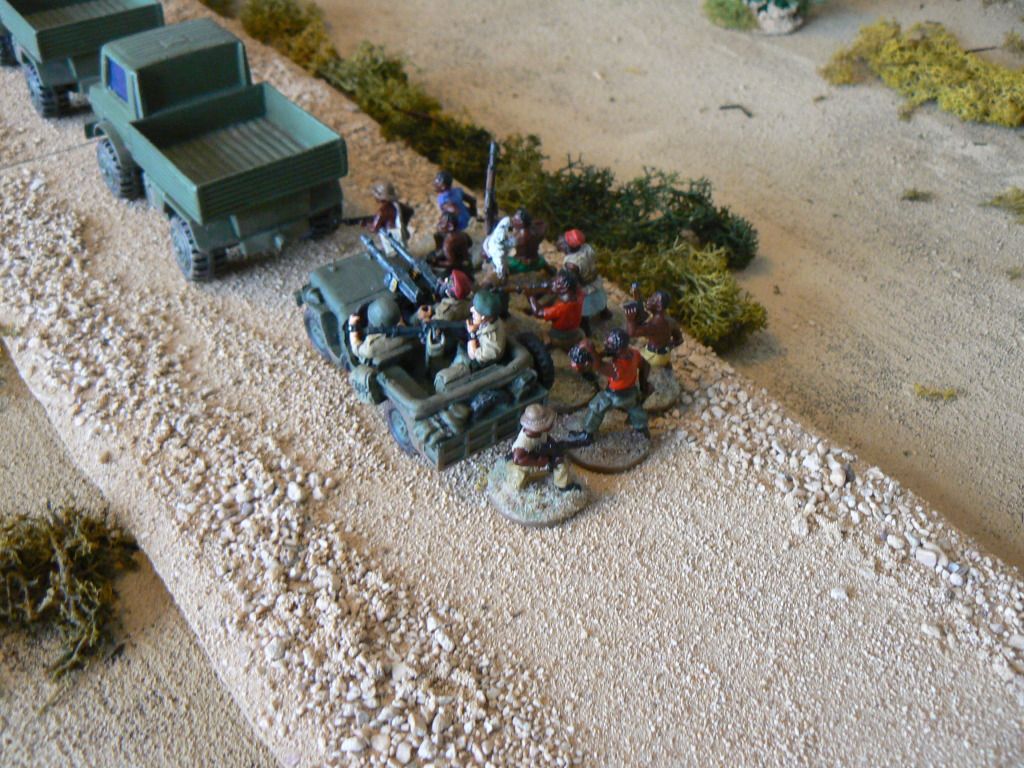
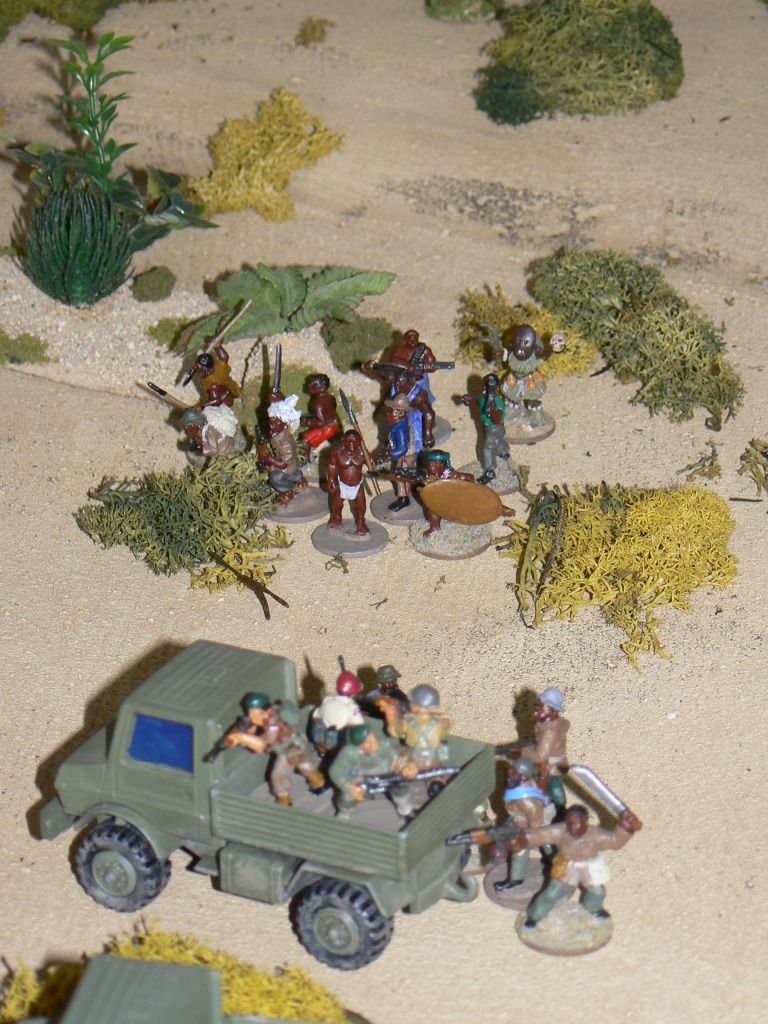
1 turn in - an a jeep crew is wiped out by a mob of Angry locals
They try to do the same thing to a unimog, but manage to hack away at the canvas and truck sides rather than getting to the crew and passengers..
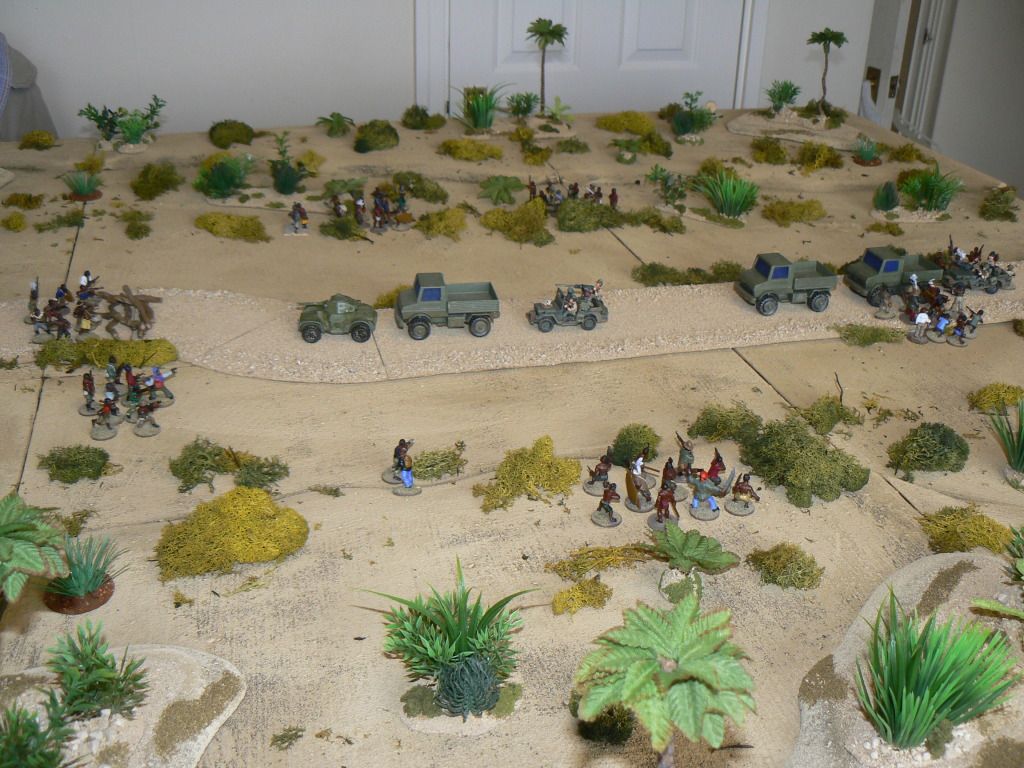
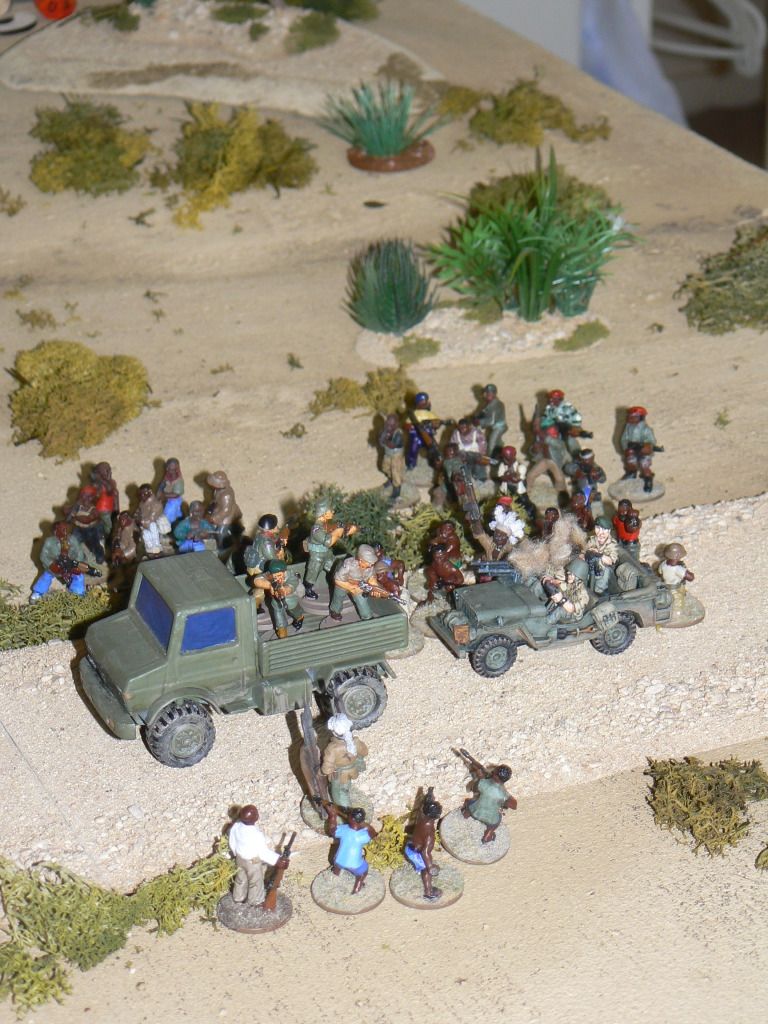
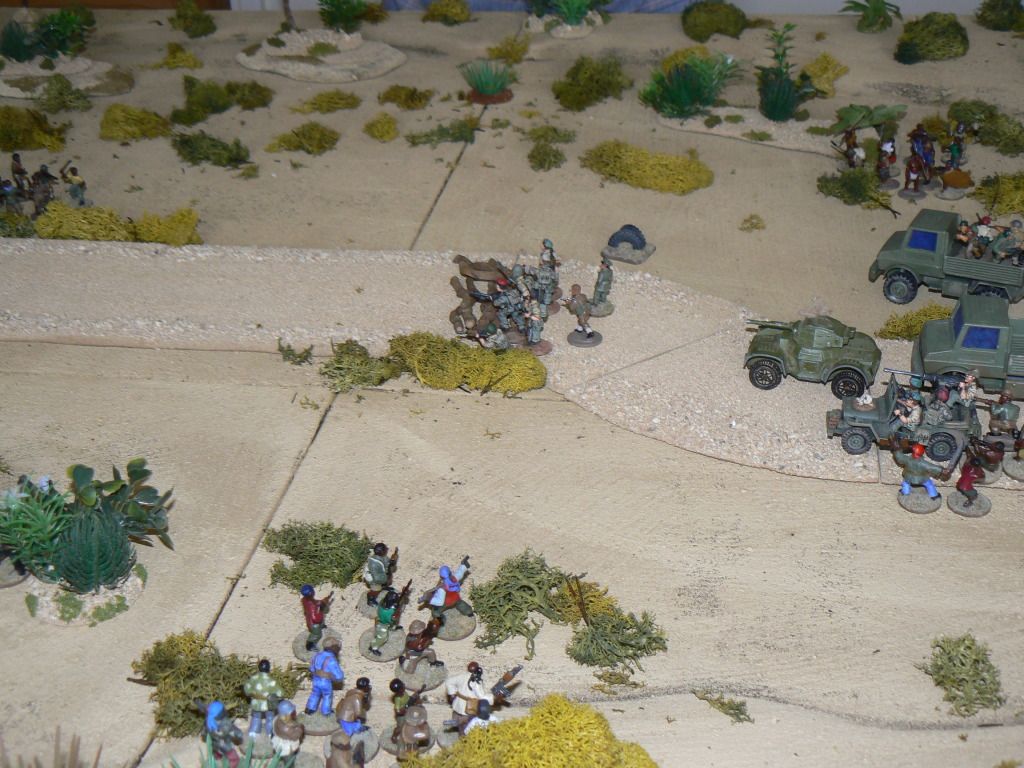
The convoy has already split into two parts...
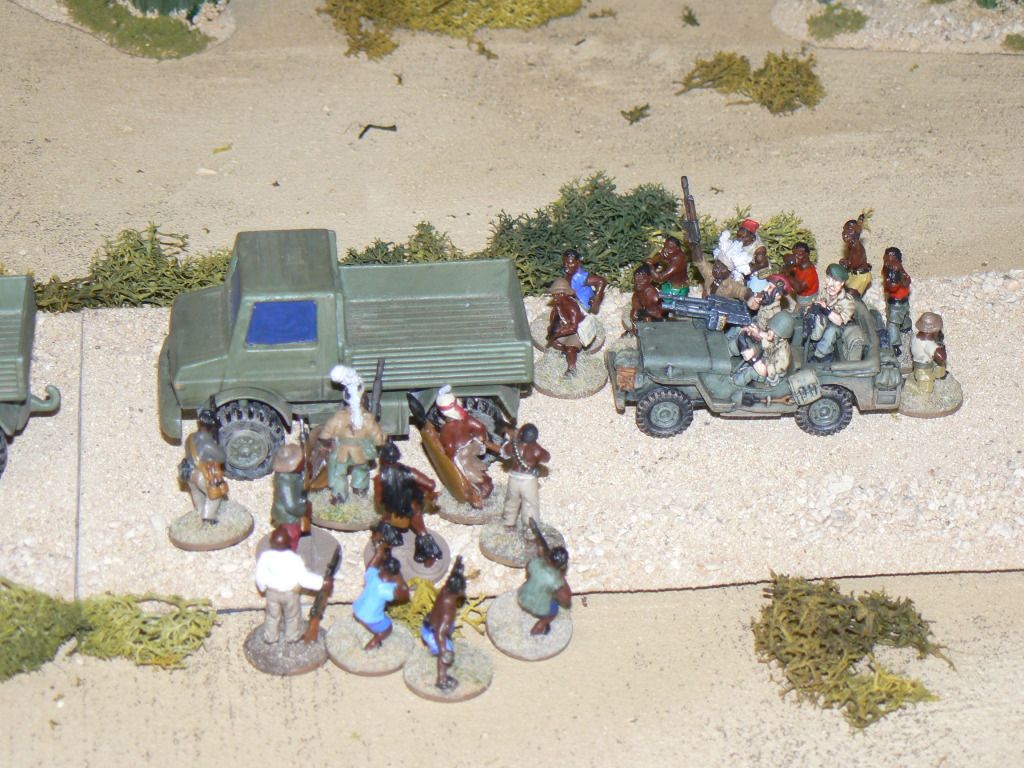
The 2nd truck rolls back the canvas and lets the locals have lead...
The fight around the back unimog intensifies, with the guys in the back fighting back, trying to get the truck free..
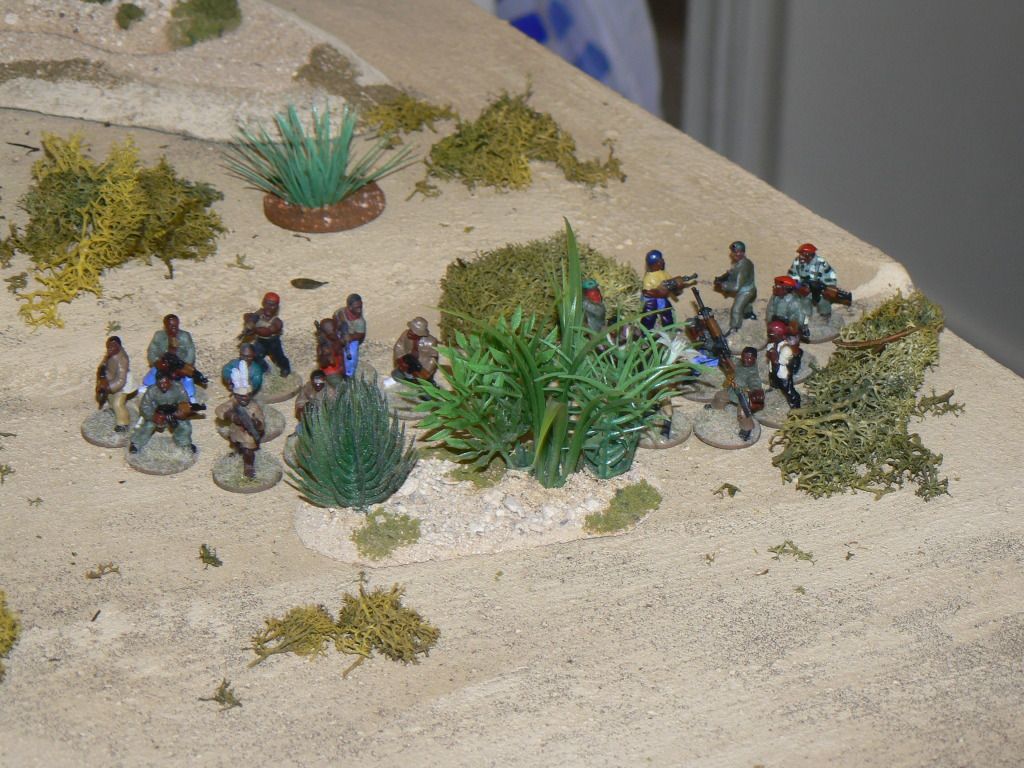
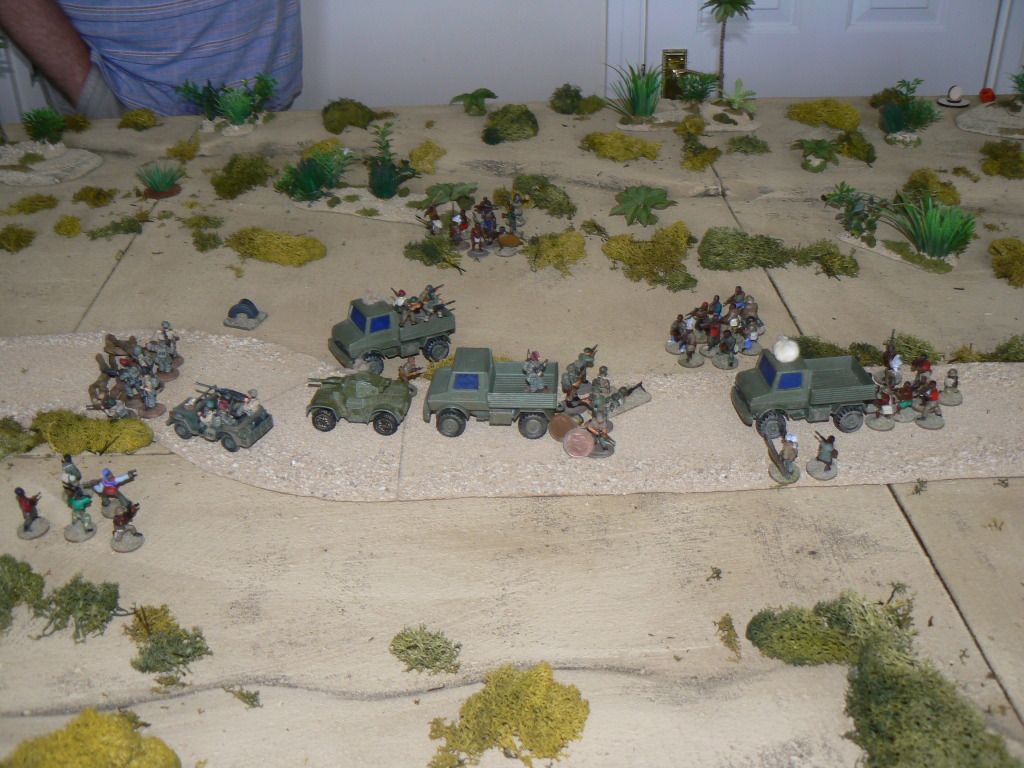
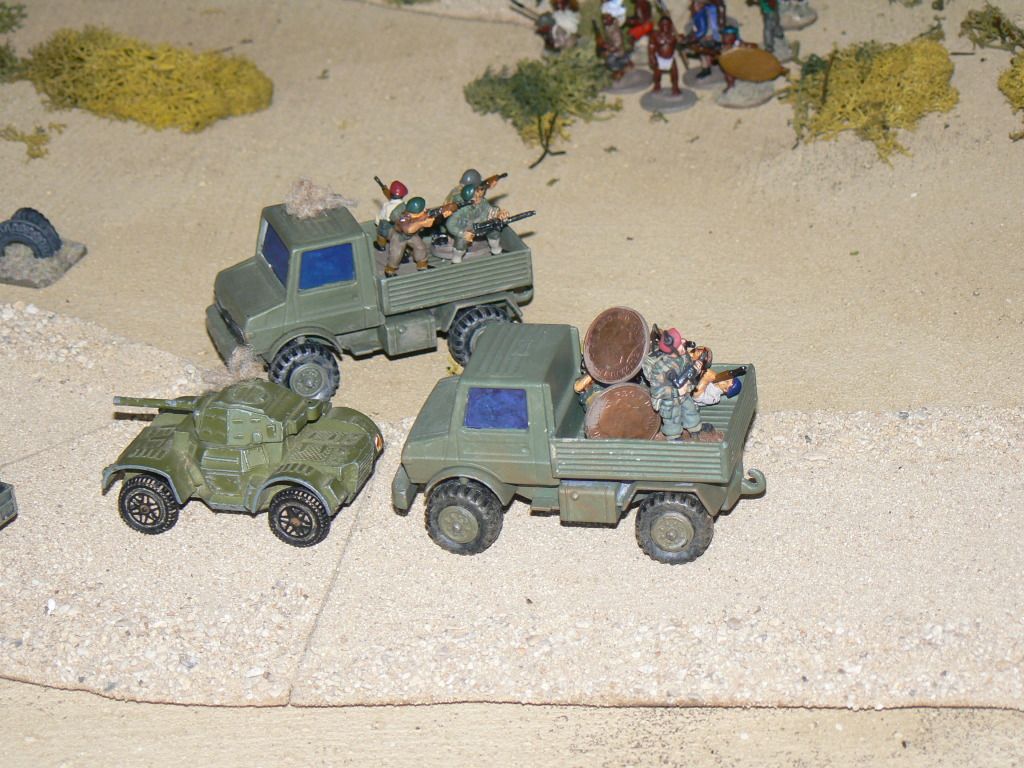
Reinforcements!

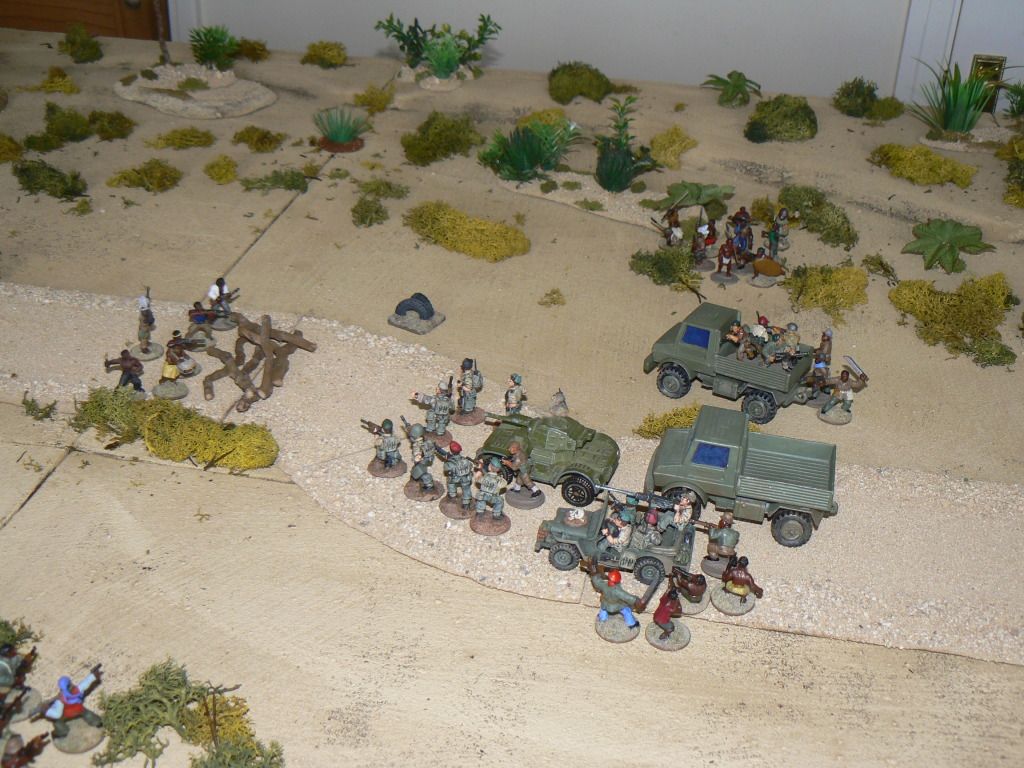
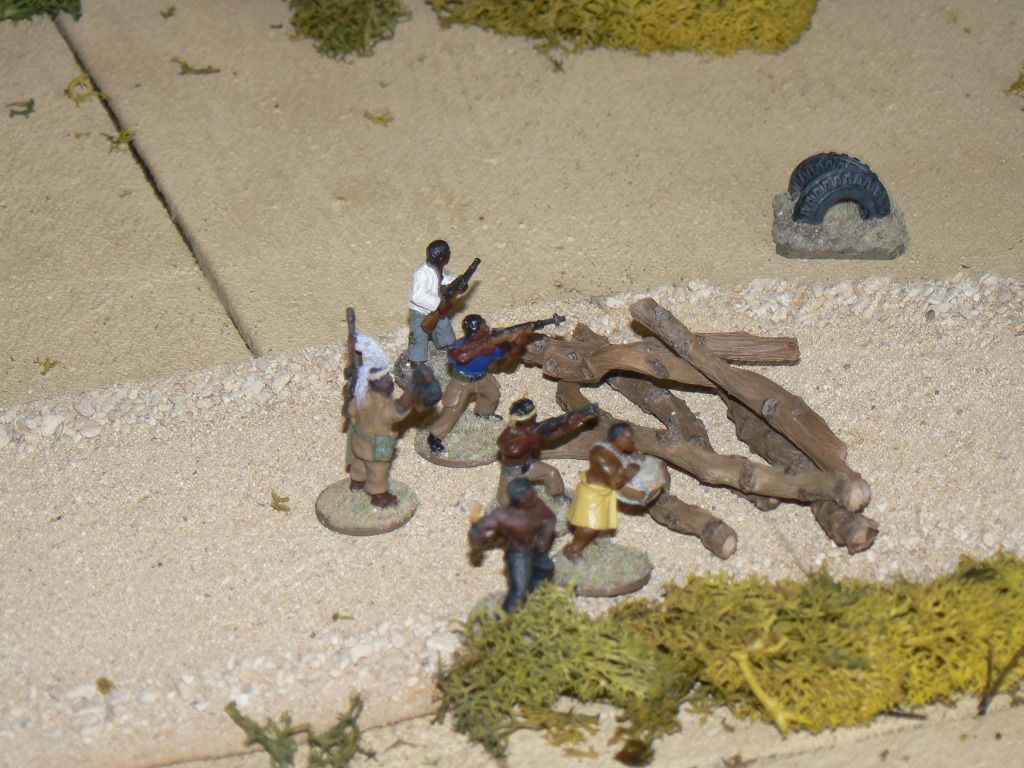
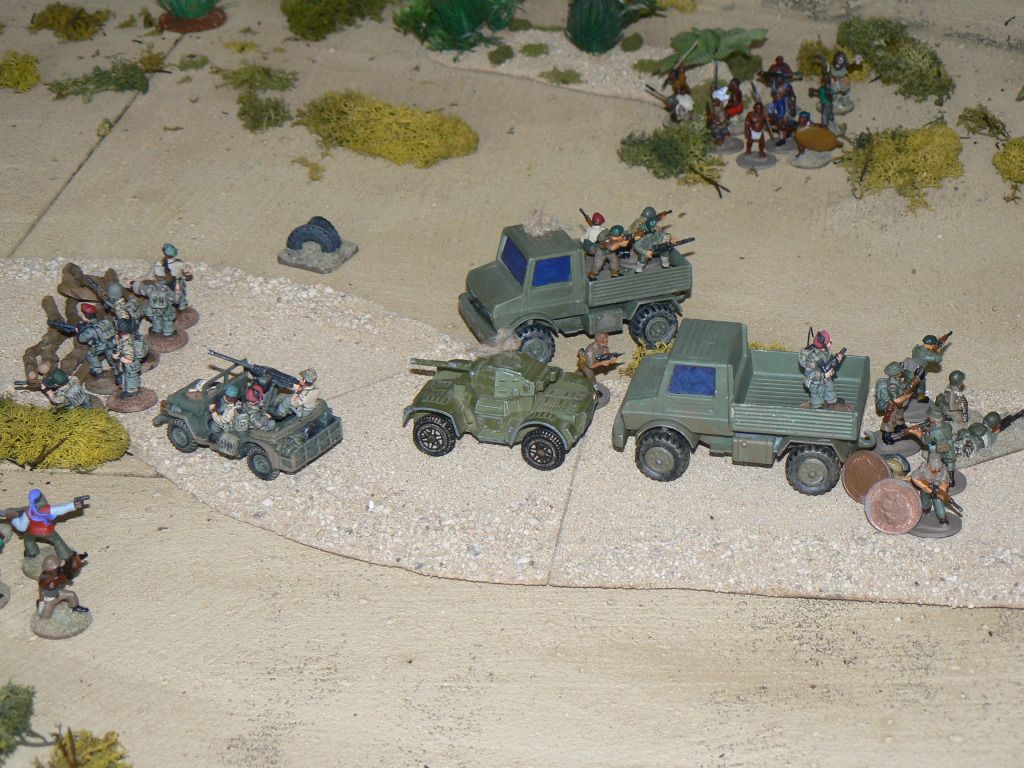
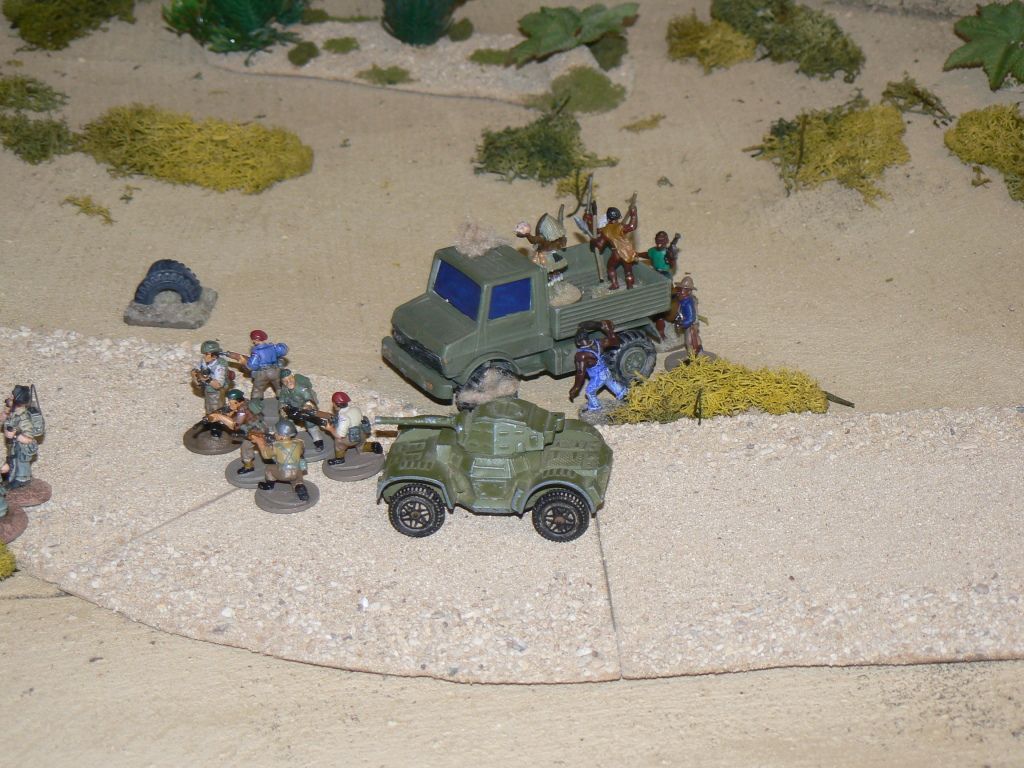
The squad in the first truck dismounts to move the barricade, after the Ferret driver spots a mine (marked by the tires in the dirt) before having their tires blown out by Simba support weapons fire.

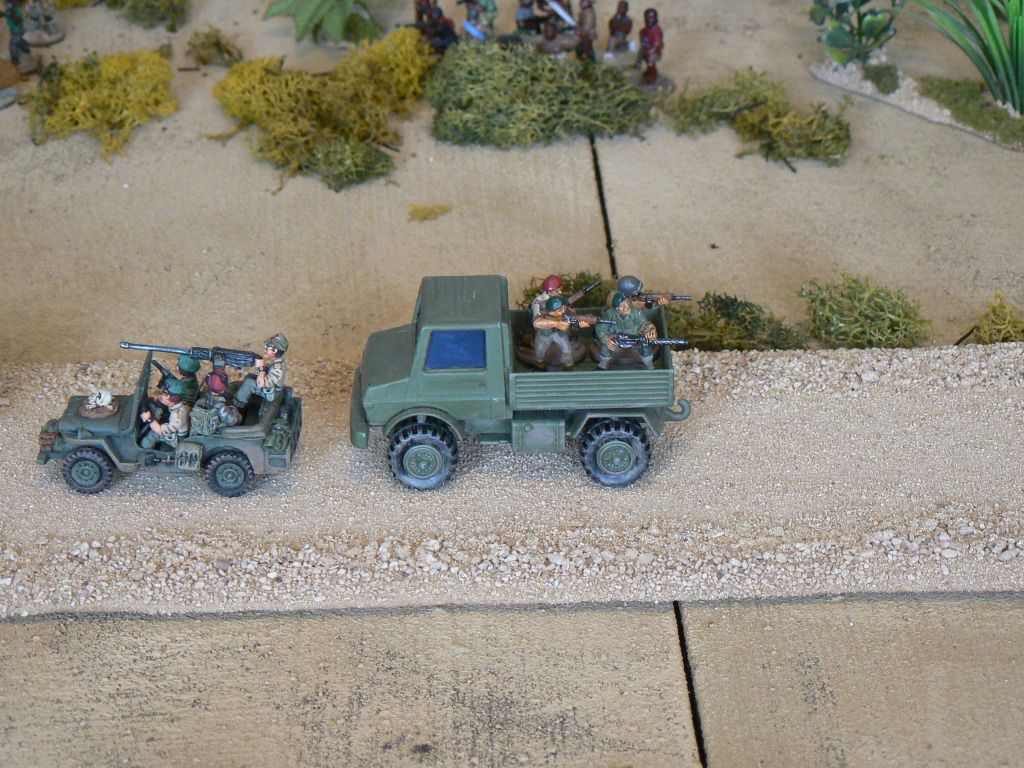
The remaining gun jeep races forwards, pouring .50 fire into the bush where the RPG came from, taking out the weapons team, whilst the other unimog performs a similar manoeuvre on the Dshka team, bringing them perilously close to the edge of the jungle... But not before the ferret crew have had enough and bail out, both with light injurys.

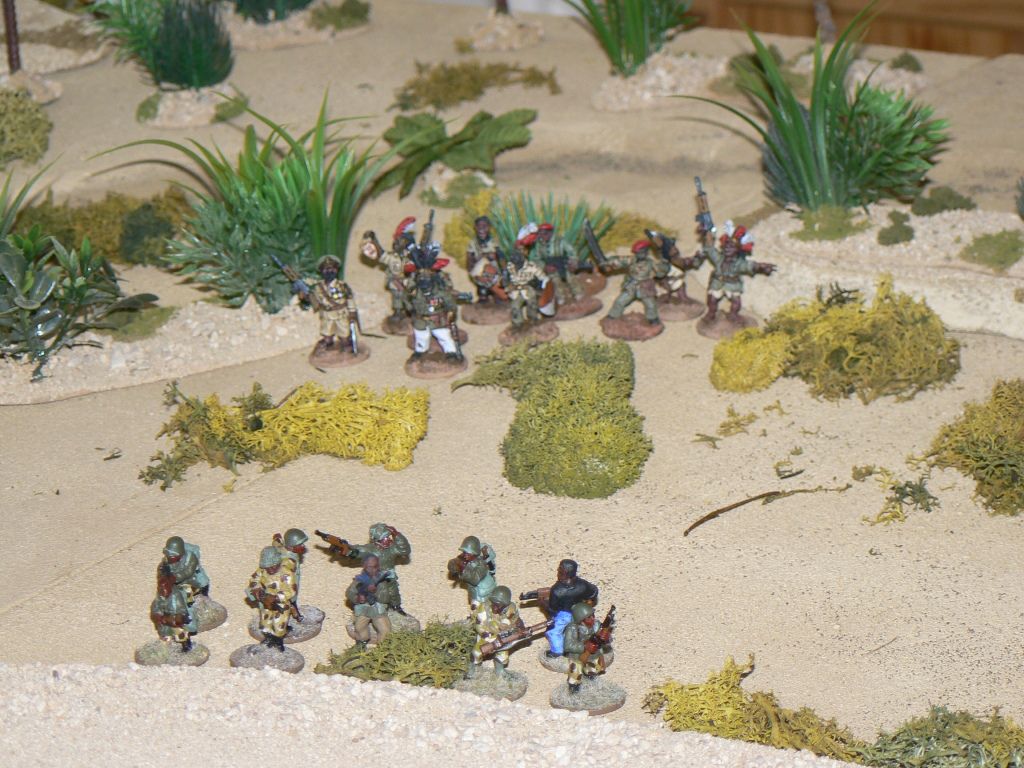
More Simba prepare to charge the rear unimog... Their time looks number in seconds...
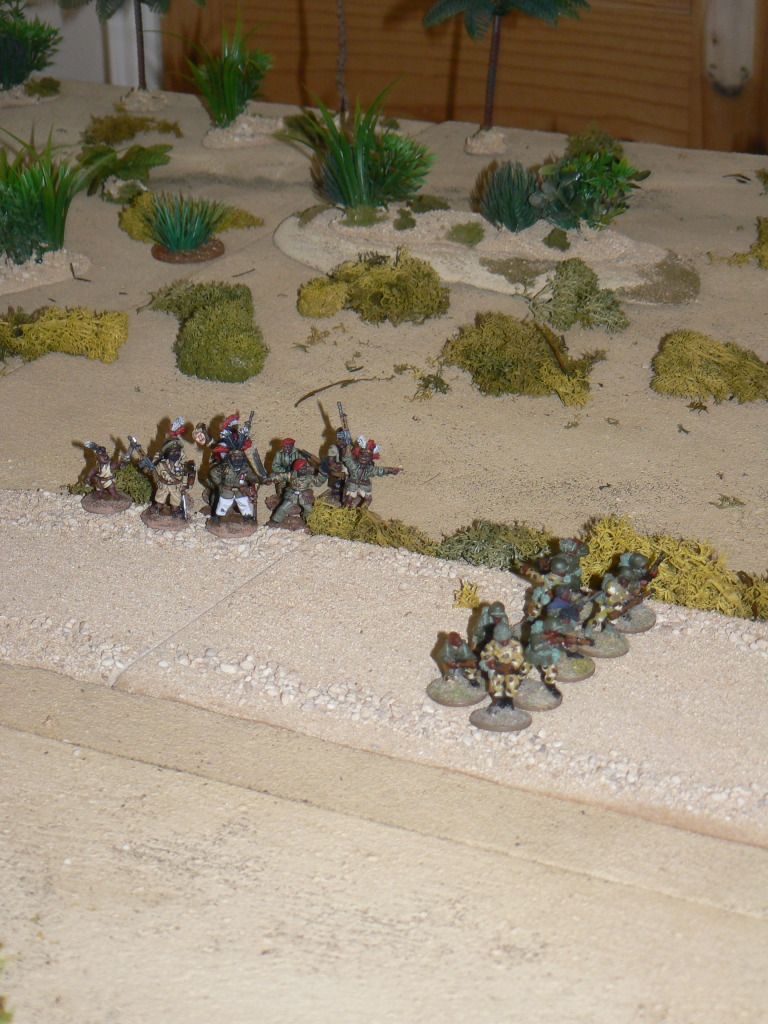
The jeep and the 2nd unimog are both charged by mobs of simba which had been lurking in the under growth...

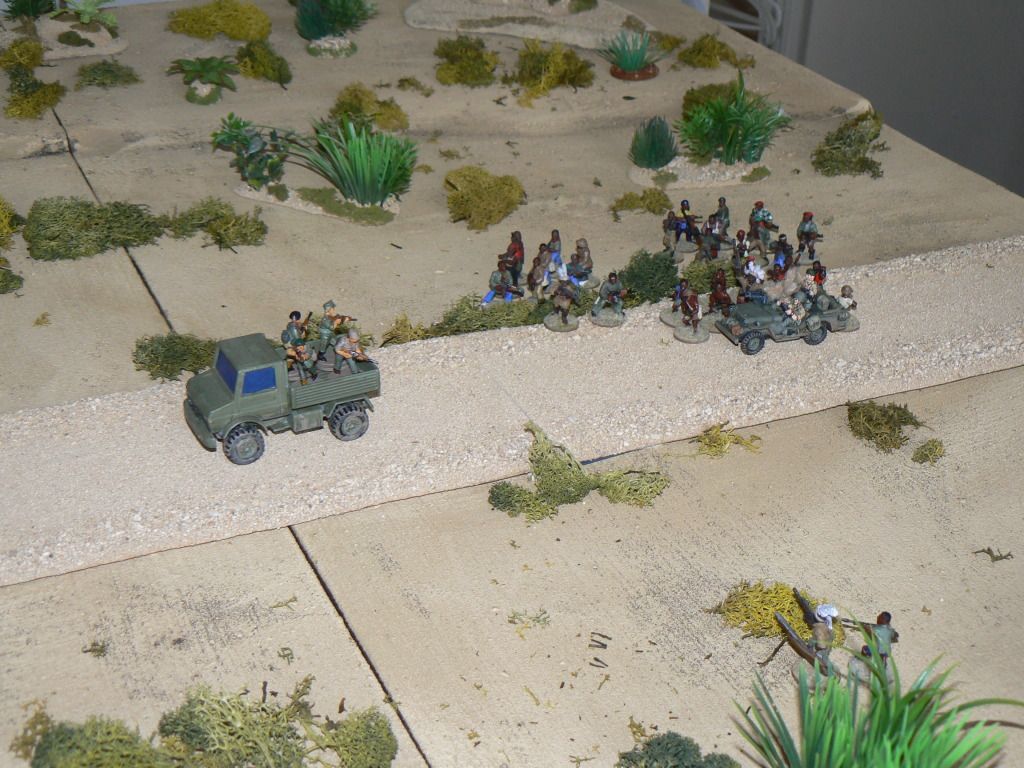
More reinforcements advance...

And even more arrive...
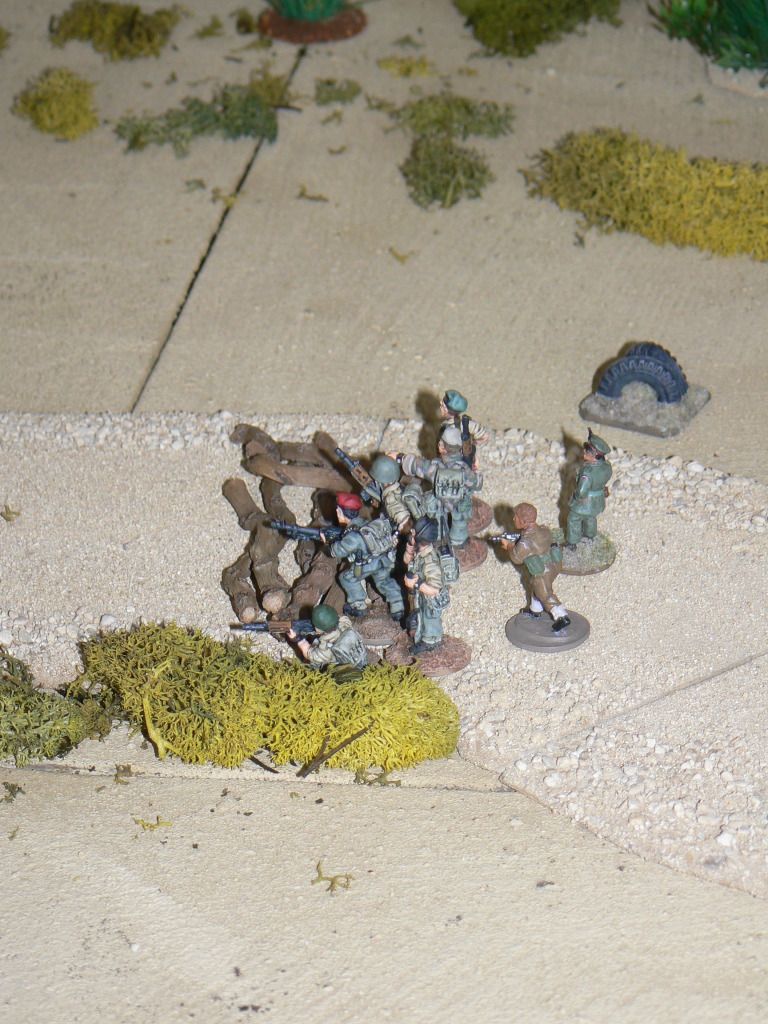
Under supporting fire from the Ferret crew, the 1st section moves up and begins to dismantle the barricade
The rear unimog finally manages to fight free, racing off, only for a quick witted Simba to shoot the tires, bringing the truck to a skidding halt
The second unimog also breaks free..

... and also comes to a grinding halt due to fire from the Simba's. Still, it gives good cover, so the troops are in no rush to disembark!

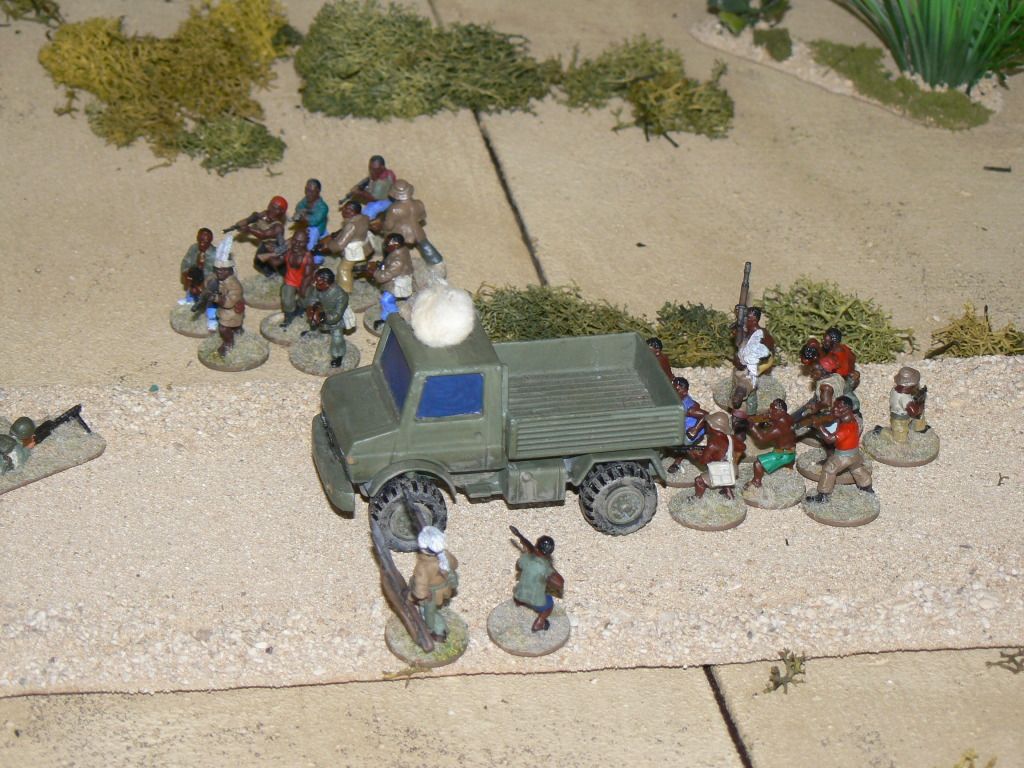
The troops from the final unimog disembark, pulling back with their casualties, whilst the Simba mob which had been trashing the jeep advance on their position, only to content themselves with pulling the unimog apart after taking a few rounds...
The medic disembarks the gun jeep, and falls back to support the wounded, whilst the light injured ferret crewman makes his way to there position, along with more casualties from unimog 2...
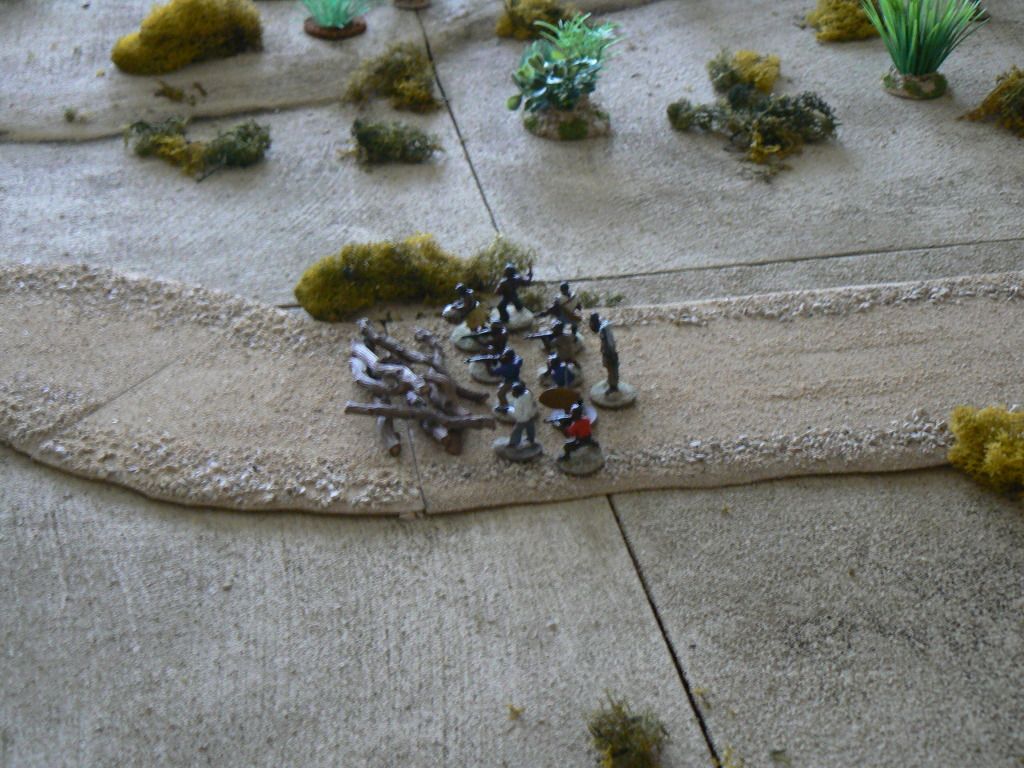
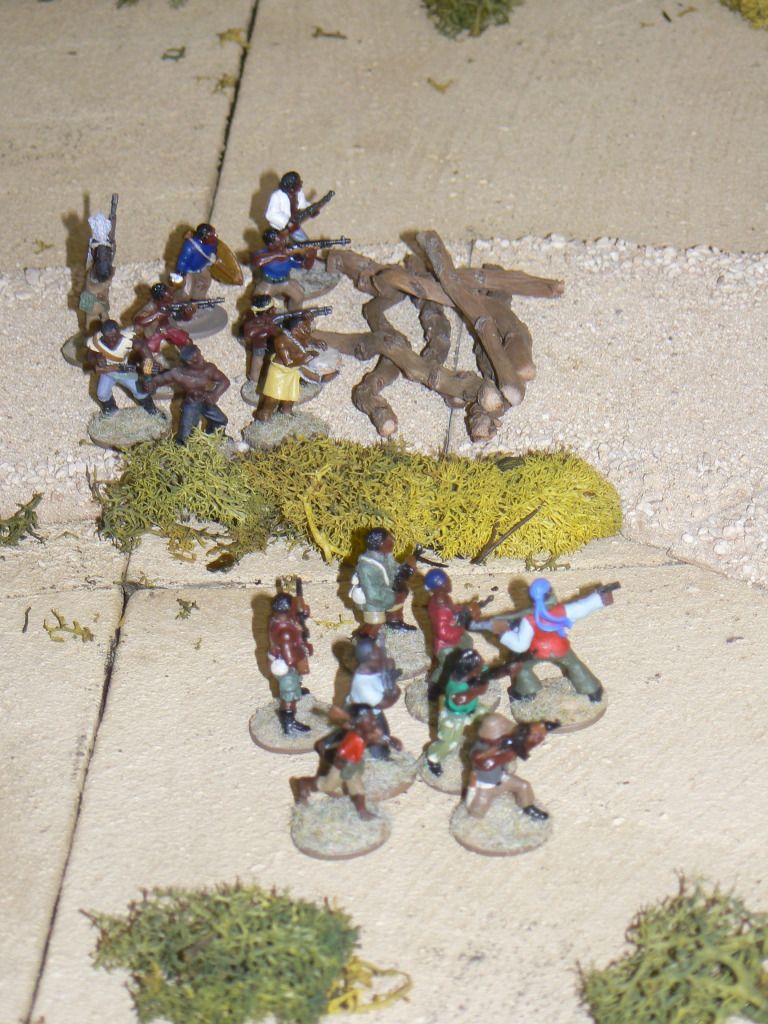
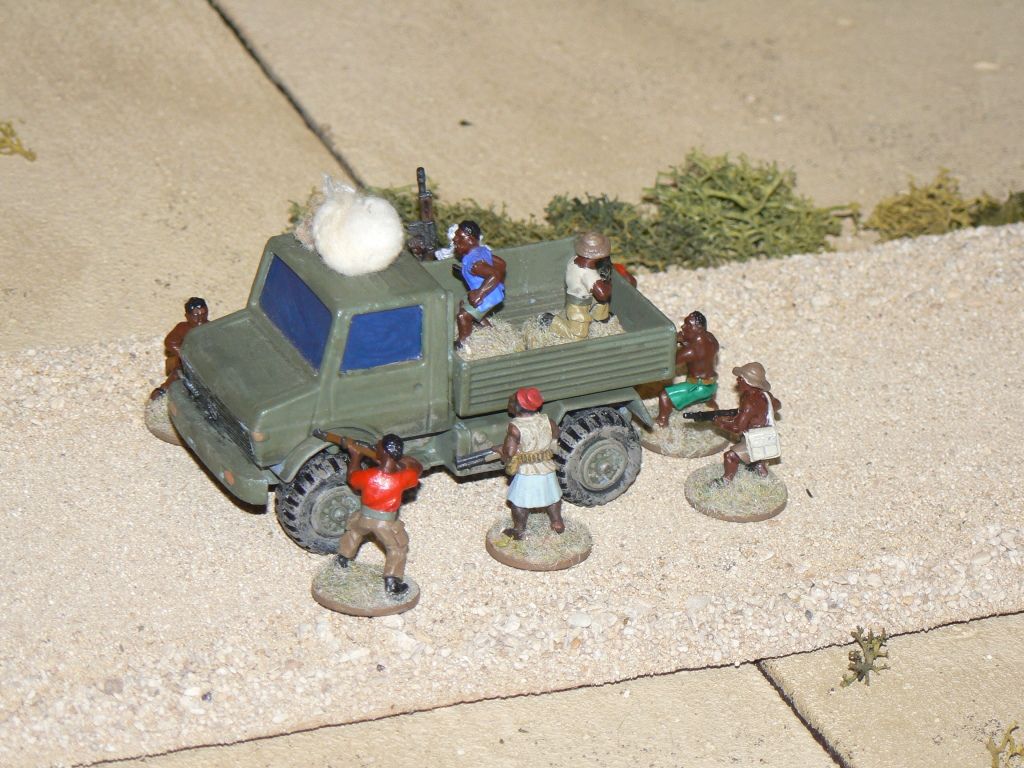
The wrecking gang...
The barricade is clear!
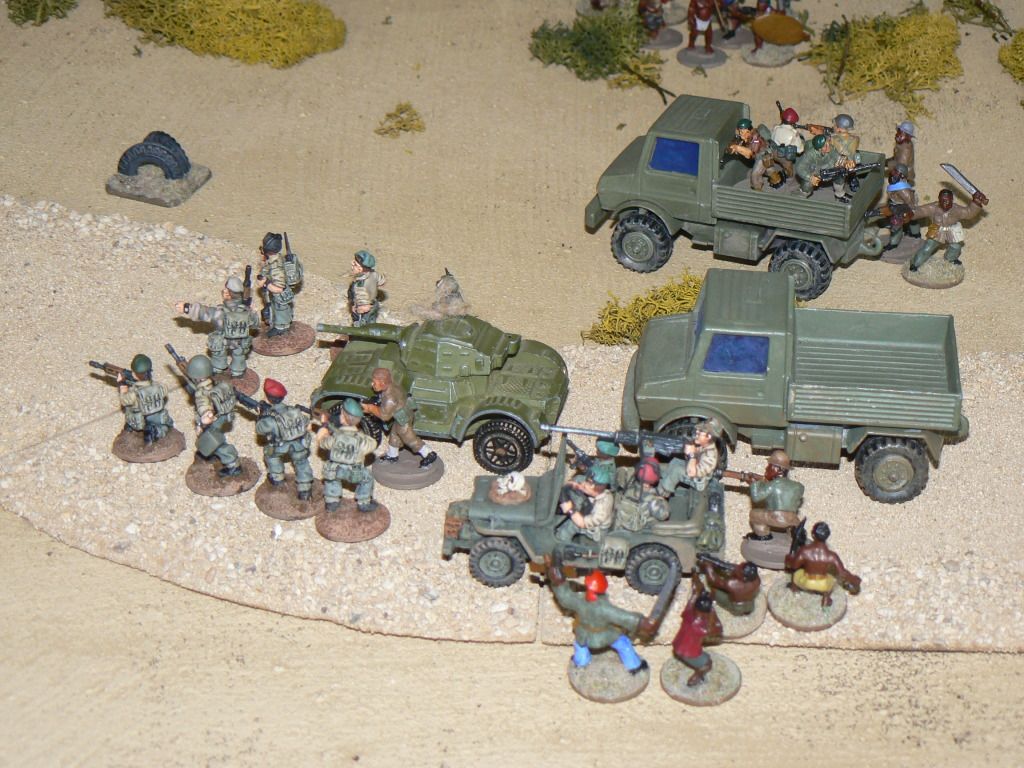
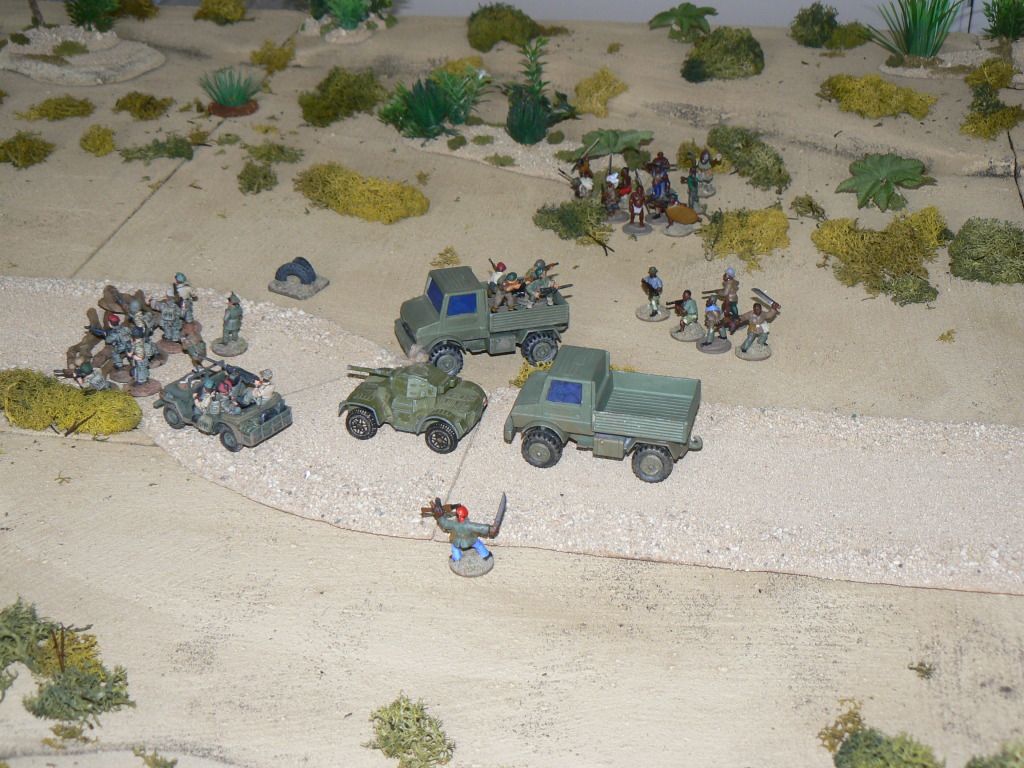
More reinforcements, including a section of army deserters! (I had run out of militia figures to spawn by this point... that's never happened to me before!)
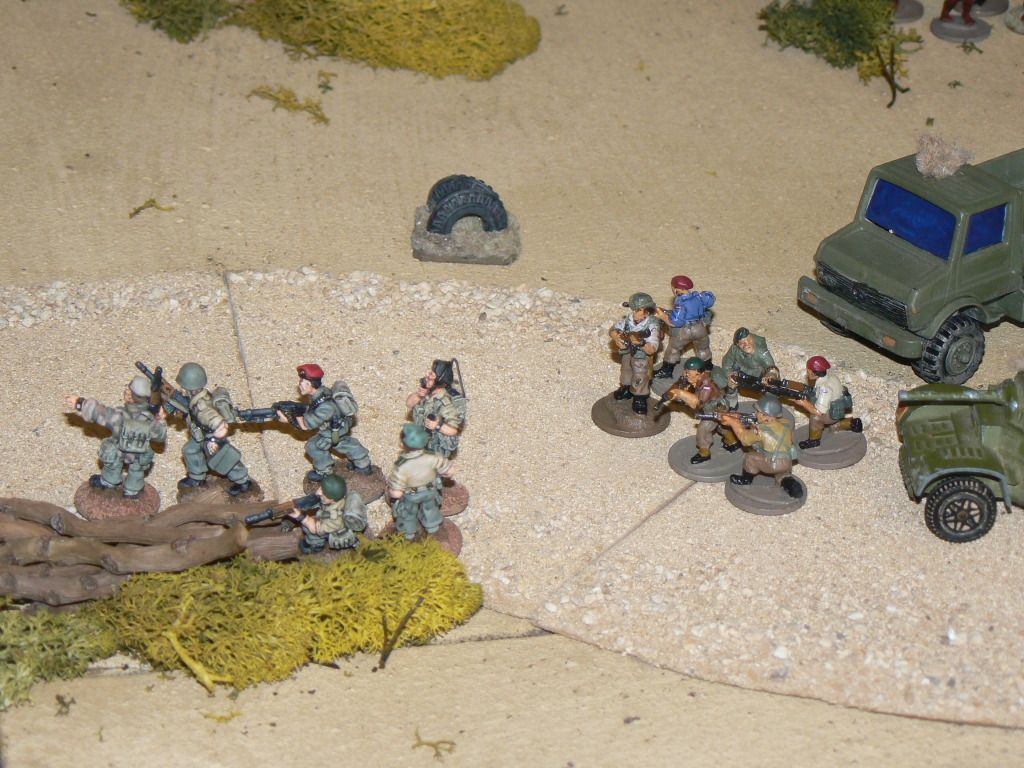
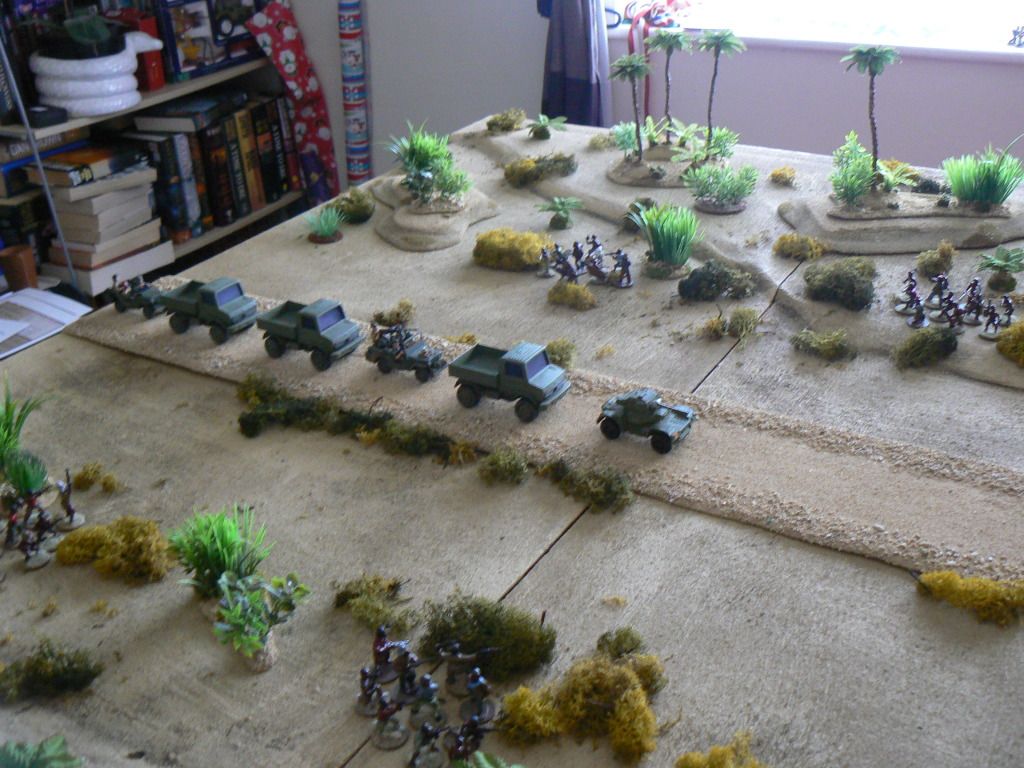
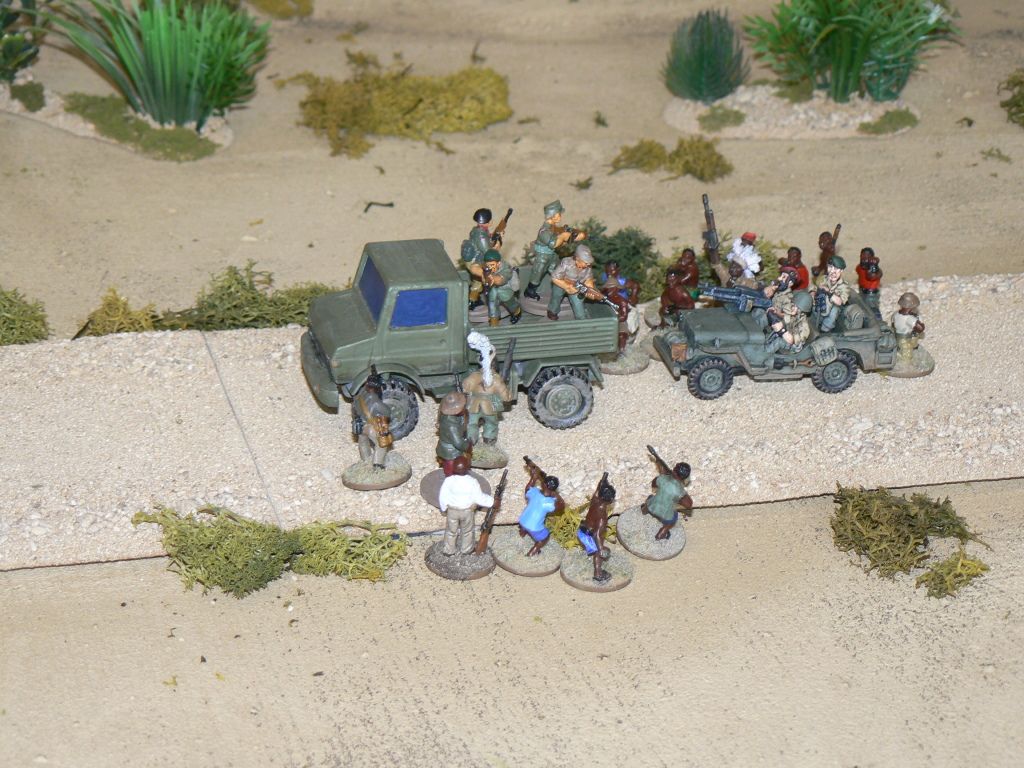
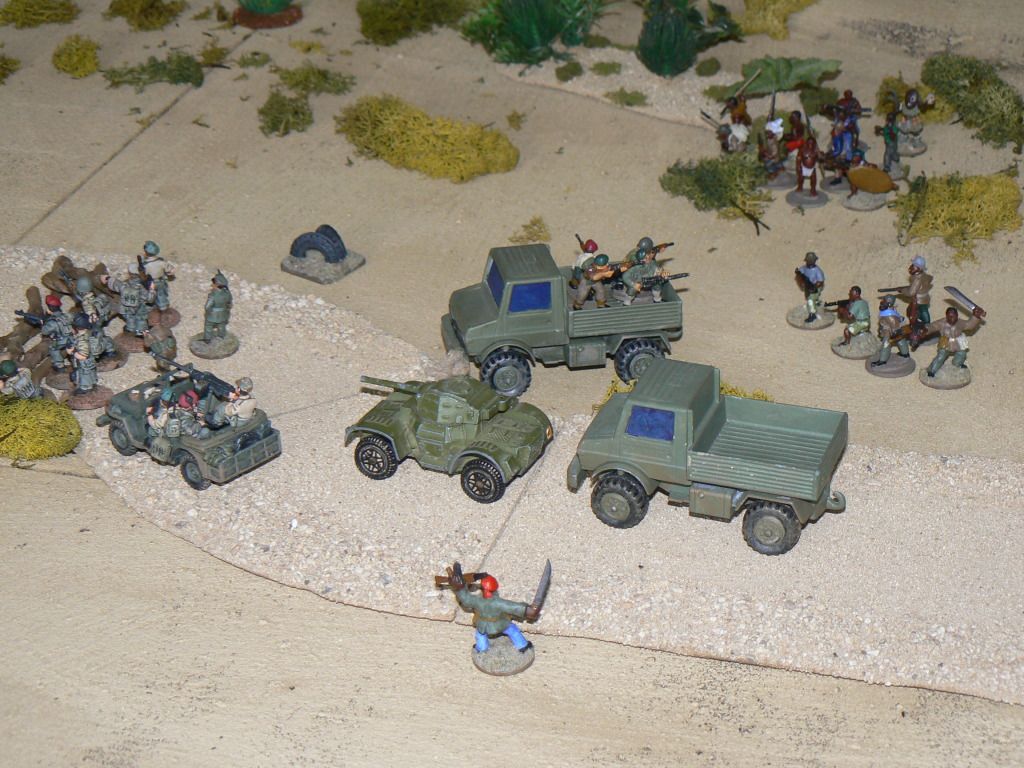
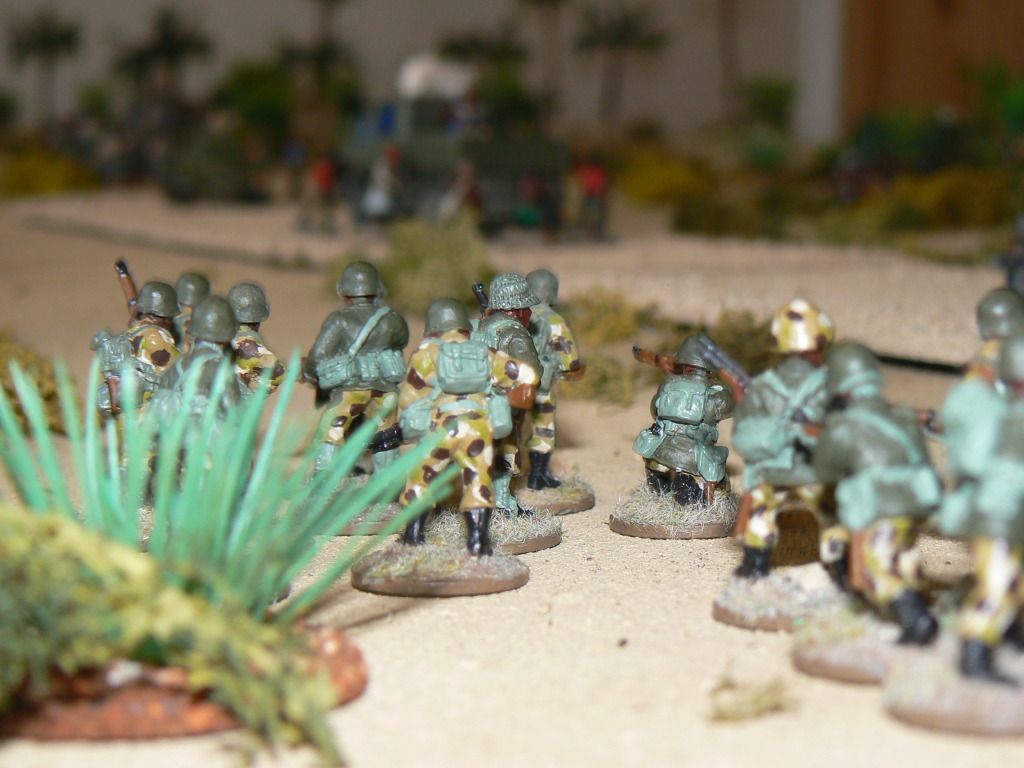
The troops move up to begin clearing the road...
The vehicles move up, trying to clear a path through ramming, and small arms fire..

Yet more reinforcements!
The section from the second unimog disembark, forming the rear guard, whilst their transport is set upon by an angry mob (who got points for destroying vehicles, hence the trashing...)

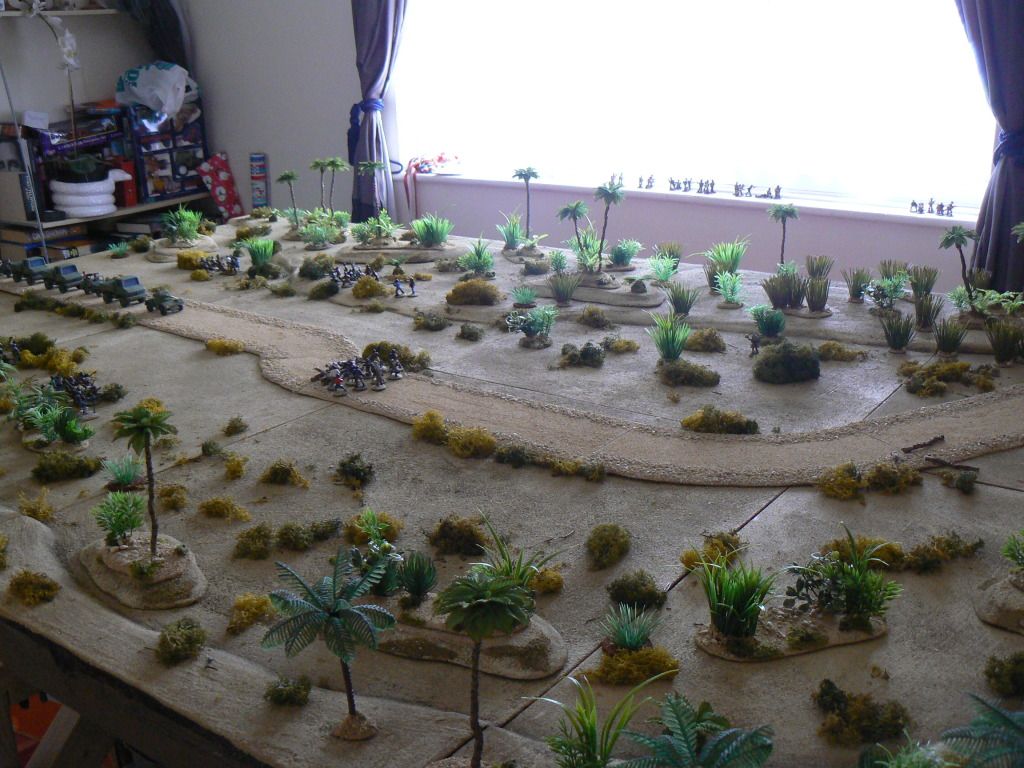
That unit refused to move... the vehicles get a little bogged down by the angry mobs, but they didn't hold on too hard... The vehicles broke free, but that was the end of the game. The last couple of pics are just eye-candy, showing where everything else got to...


Great report!
ReplyDeleteI really like the terrain.
Fantastic AAR. the Terrain is superb great job mate!
ReplyDeleteThanks guys - would love to take credit for the terrain, but it's all down to John (Johnny Boy on the LAF)
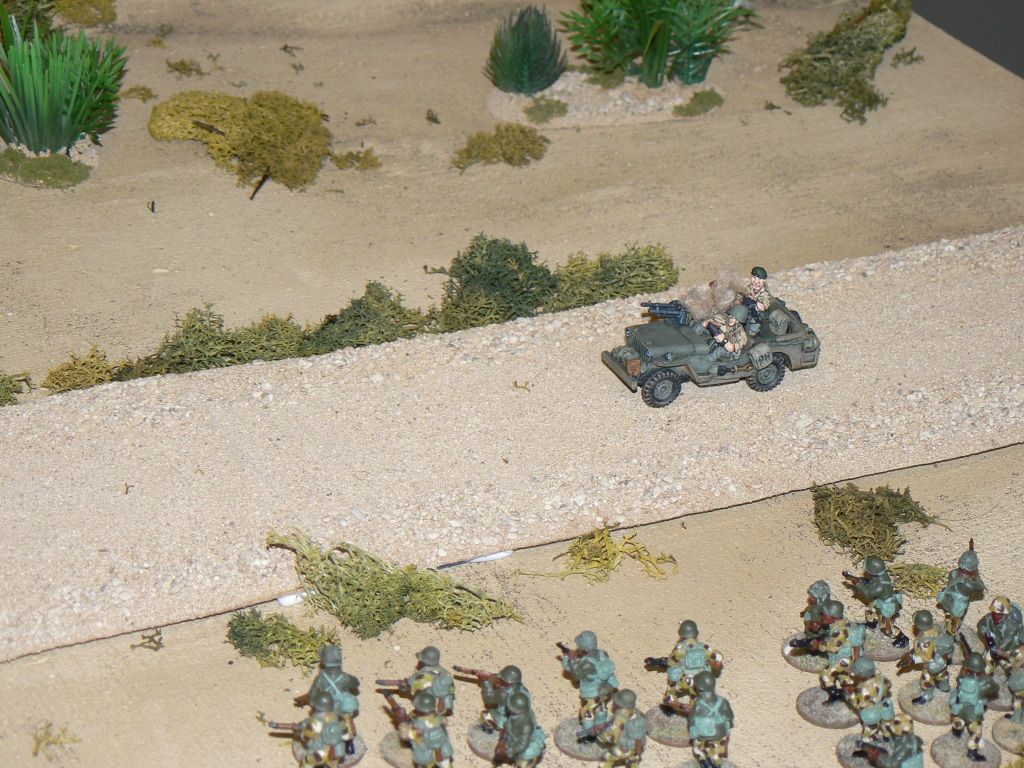
ReplyDeleteThanks for sharing! I like the third photo looking down the road.
ReplyDeleteGreat posting where did you get your Unimog trucks from?
ReplyDeleteCheers
Stu